Yamaha YPJ MT-Pro Pedal Upgrade & Reflective Pedals
As I mentioned in my initial review of the Yamaha YPJ MT-Pro almost exactly a year ago, one of the major things that irked me about it was the use of plastic where it doesn't belong - namely the brake levers and the pedals.
When I wrote that review, several people chimed in to tell me why I should in fact be happy, because:
a. Pedals are a "personal thing" and it's better if you select your own anyway.
b. Shops in other countries apparently sell bikes without pedals at all.
I respectfully reject both of those arguments. I bought a bike, I expect it to be ride-able from the moment it's delivered. Not including pedals is not an option. I would be very happy if Yamaha also offered a "Bike Kit" that had the frame without the wheels, seat, pedals, reflectors, bell, or handle bar grips - but that is not what I ordered.
And what is so personal about the pedals compared with the handlebar grips or seat? I would say all of those things are fairly personalizable - but that doesn't mean they shouldn't be included any more than a car should ship without a steering wheel.
My complaints are more about durability than appearance, and the fact that given the price of the bike, they could have included better components. My Panasonic XM-1 cost less than half as much and came with very good Aluminum Shimano pedals - which gave me an idea! Why not swap them!
I only use the XM-1 for pottering around town, so the plastic pedals would be okay there - temporarily at least.
The first order of business was to take the existing plastic pedals off of the MT-Pro. This was very straightforward, and they came off easily with a small adjustable wrench.
Next I carried those pedals down to where I keep the XM-1, and tried my best to remove the pedals from the XM-1. Try as I might, they were simply not going to budge. Over the next few days, I took several trips with spray oil (Think WD-40 style), but it just wasn't happening.
I purchased a pedal specific wrench with a long handle from Amazon and kept adding oil every day in the meantime.
Eventually when the wrench arrived, I went back down to remove the pedals. The right pedal came off without too much effort, but the left pedal took a lot of work with me using all four limbs in dangerous positions before it finally came off.
I took the aluminum pedals home. They were very, very dirty, and also fairly scratched up on the outsides. "Fair enough", I thought, I have bumped up against curbs and what not plenty of times, and these pedals have seen well over 2000 km of concrete jungle and mountain trails.
I brought them in, and scrubbed the grime off using a tooth brush and some alcohol spray. After that, I cleaned them a bit more with automotive parts & brake cleaner.
Since they were scratched-up, I decided to [re-]paint them black, and used some "Black Mica" touch-up paint I had laying around for that. I scuffed up the original paint a little first with a sanding sponge, but didn't bother to sand it all off.

(Pedals, partially painted black)
Then it occurred to me that I had a can of reflective paint I had bought several years ago with a plan to paint my bike. The work required to disassemble and paint the entire XM-1 was just too much, and so it never got done - but pedals would be an easy bite-size project!

(Albedo 100 reflective paint)
So the next day, I scuffed up the still slightly soft black paint using a scotch-bright kitchen cleaner, and started painting the pedals again, reflective grey this time.

(The pedals after the first light coat of reflective paint)

Honestly, the black looks better than grey in the day light to me, but the main point is to make them reflective at night. Granted, the top and bottom will not be facing cars in normal circumstances, so I was tempted to paint those with some kind of textured/rubberized non-slip paint instead. Maybe in the future I'll put something like that on top.
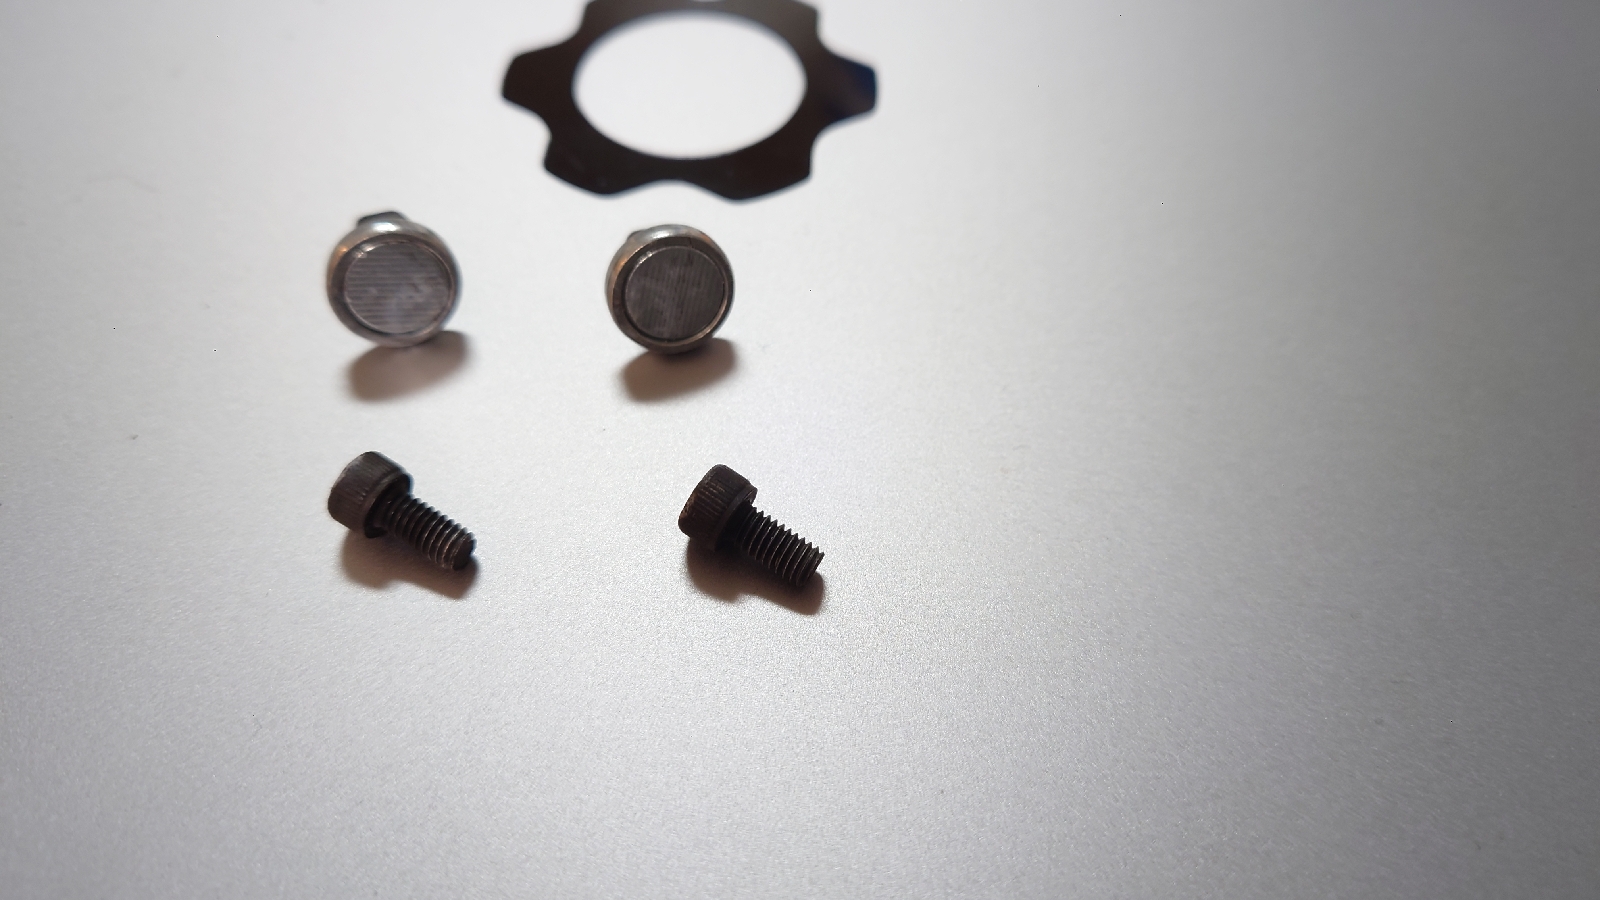
The instructions don't mention multiple layers, suggesting a relatively thick layer, presumably because for light reflection that is enough. I did two layers because I know that the pedals will get rough treatment. The down side is that I used up most of the can of this very expensive paint. (I also painted two nuts which I will use in another project soon to be revealed!)
Also, being that pedals get scratched up no matter what, I am not trying to make these absolutely perfect. If there is a little bit of running or some under-coated spots on the inside or something like that in the end, I am perfectly fine with that.
If I had wanted to be a perfectionist, I would have filed off the rough scratches, and sanded off the original paint, and used primer before painting again. Again, though, pedals on my bikes tend to get scratched up fairly quickly anyway.
Now, these pedals had reflectors in the front and back anyway, but this way they will reflect more, and from the side as well.
So how does it look on the actual bike?


Finally, at night


コメント
コメントを投稿