Cleaning up light wiring and horn trouble - Part 2
In my last post, I discussed why and how I wired up lights and a horn, and some of the issues I had. Though my last post focused more on the why, here I will discuss a little more about the challenges involved.
The first thing to note is that wiring up some piece of electrical equipment to an eBike (or motorcycle) is a cosceptually simple thing to do. There is already a battery - you just need to tap into the power for your own purposes.
Gasoline powered motorcycles typically use a lead acid gel battery which has a nominal voltage of 12 volts and usually doesn't vary too far from that voltage since it is typically charged by an alternator. An eBike has a much more powerful battery, which us usually rated for at least 24 volts, and often 36 or even 48 volts. When the battery is fully charged, the voltage will be higher, and when it is drained, it will be quite a bit lower.
This means that either the things you attach need to be able to handle a wide range of voltage, or you need to regulate the power before they see it at all.
For example, my Supernova m99 pure is designed for a 6 volt lighting output built into some ebikes, so in order to power it, I had to attach a DC to DC converter to convert the voltage from my battery down to 6 volts before feeding it to the light.
In hindsight, the M99 Pro would have actually been a better fit, since it can handle voltages of 24 - 60 volts. (The nominal rating on my bike is 36 volts, but the measured voltage is usually around 39 volts when fully charged).
I bought the m99 pure based on the compatibility charts, which ssays that my Yamaha motor supports 6 volts lighting. Sadly, this is not implemented on my particular model, and so is relatively meaningless. Since I ended up having to steal power directly from the battery, the Pro would actually have been a better option.
Stealing power from the battery is actually common in the motorcycle world, where you can buy a "cable harness" which is basically a Y cable that connects between the battery and whatever it was connected to, while also splitting off into another connector. In many cases, there is a DC to DC converter to convert the 12 or 24 volt motorcycle battery power down to 5 volts for USB or similar.
In our case, we want to do the same thing, but since there were no harness connectors commercially available, I built my own. Wiring is more difficult with a bike, because it's smaller and has less places to hide wires, much less bulky voltage converters.
Instead of converting votage from 12v to 5v for USB, I converted from ~36v to 6v for the light.
In the end, the horn was rated for 5v to 60v, but worked better with the native battery voltage as opposed to the 6v output used for the light.
I started with long cables and big connectors I could find pigtails for, as building everything in a modular fashion made testing everything easier - but there were some drawbacks.
1. Using pigtail connectors made all of the wires even longer (and uglier).
2. The cheap connectors I used were huge once I got them on the bike, and some of them appeared to not even be waterproof. I discovered corrosion inside upon taking some of then off.
3. The long lengths of wire looked like a science experiment and were difficult to manage. I had to strap them down with velcro.
On something like a Moped, you could probably just cram all of the wires inside the frame somewhere and be done with it, but there is surprisingly little room even on a big hefty eMTB.
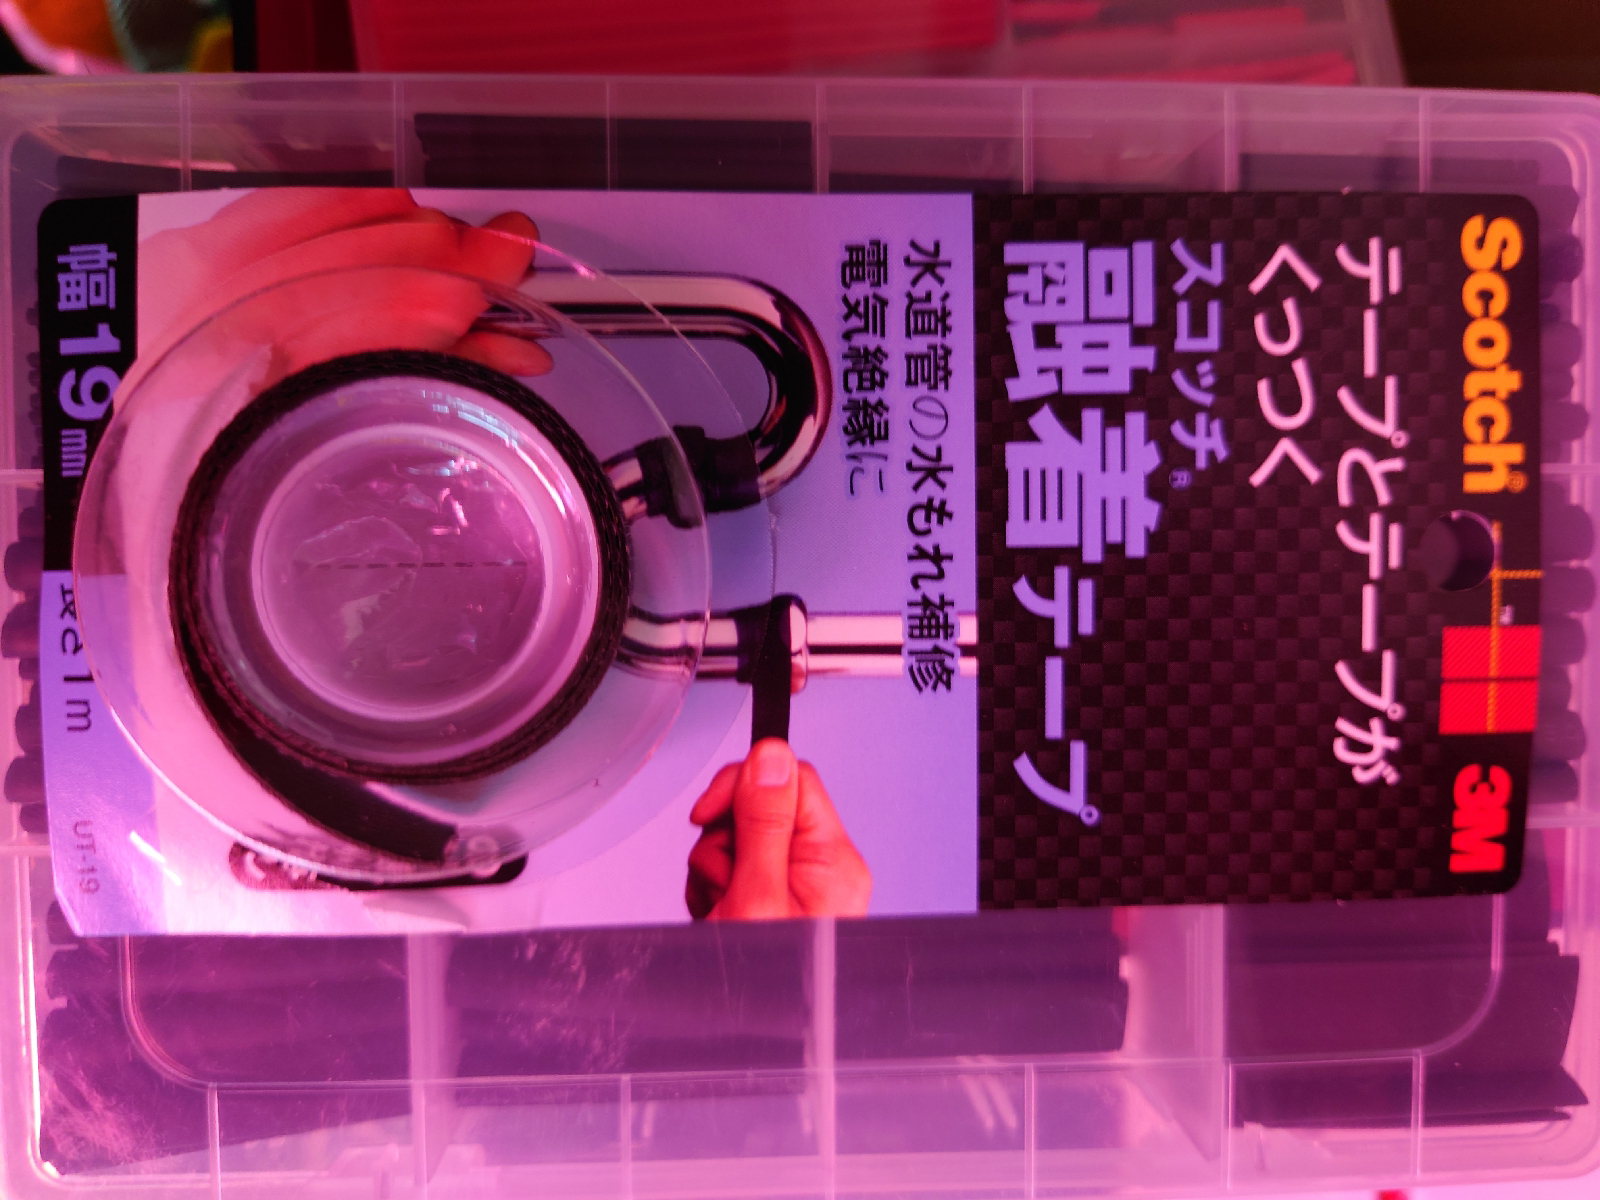
I cut the wires shorter (while still leaving some margin) re-wired the connectors to JWPF connectors. Hey, if it's good enough for Yamaha, it's good enough for me. Problem is, though, pigtails aren't easily available, and the proper crimping tool is mighty expensive. Using a normal cheap crimper resulted in a lot of trial and error and wasted connector pins. In retrospect, I would have just used normal JST connectors and wasterproofed them after the fact using epoxy, wax earplugs, or best of all, my recent discovery of rubber plumbing tape.

The second helper was the Dremel butane soldering iron/hot air gun:

This is basically a glorified butane lighter, but it can to soldering and I used it as a hot air gun to shrink the heat shrink tubing I used, as well as the connectiors mentioned above.
Given that the tape above exists, and JWPF crimping is a major pain, in retrospect I would actually recommend just using standard barrel connectors and then taping them up to make them waterproof after the fact.
Probably my biggest lesson learned from this whole saga is that while adding a light and horn are conceptually and electrically simple, getting everything working properly and conveniently can be a major pain when you have to work outside in a confined space with limited equipment.


コメント
コメントを投稿